Thursday 22 November 2018

ONLINE EXTRAVAGANZA!


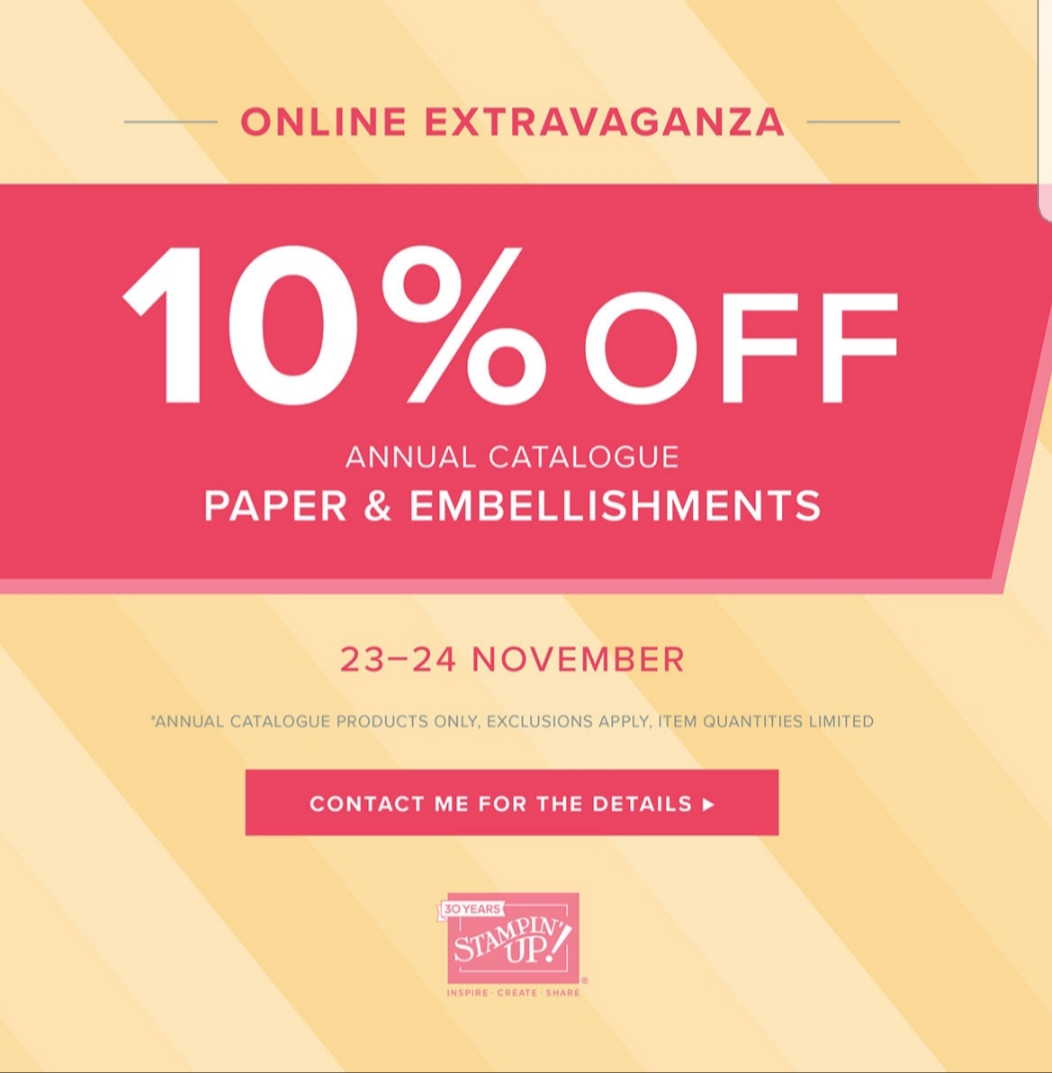
The Stampin' Up! Online Extravaganza is here!!! 

It will run for six days from the 23rd-28th of November 2018. During this time, we are throwing three, 48-hour sales featuring a selection of products from the 2018–2019 annual catalogue—all at 10% off! Each 48-hour sale will feature two product categories (e.g., paper, stamps, ink, etc.) Some exclusions apply.

Shop my 24/7 store craftyourbestlife.stampinup.net using the host code DGNEVCBX and get an free gift from me.


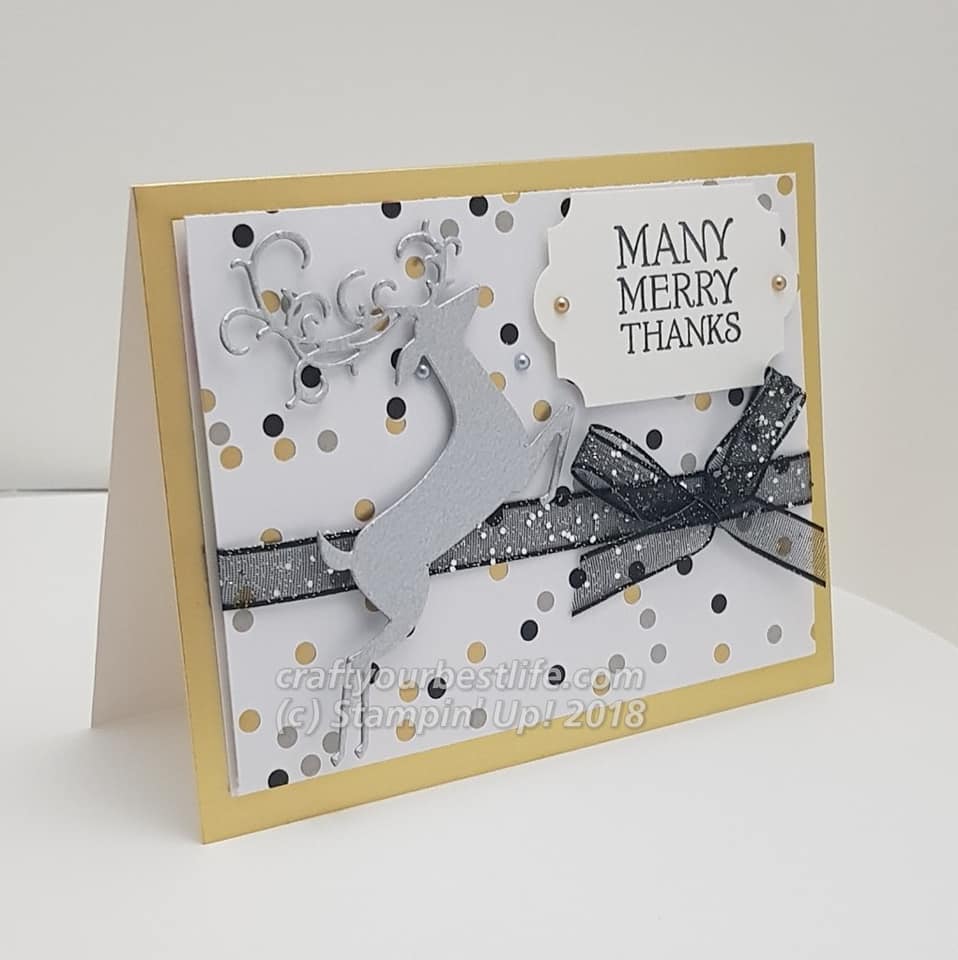
23rd-24th is the paper and embellishments sale.


25th-26th is stamp sets and Kits.


27th-28th is tools and ink.


I hope you enjoy the Stampin' Up! Sale. click here for all the details, don't forget the host code DGNEVCBX at check out. If you have any questions please drop me a message using the contact form or email me at sammitch16@gmail.com

I am also taking orders for the new spring summer catalogue.You can shop from it from the 3rd of January.  Please get in touch if you would like a copy.
With the new spring summer catalogue comes Sale-a-bration, this is a collection of free products you can choose from for every £45 you spend. Its packed full of stamps, ribbons, embellishments and paper. 
Catalogues will be with you by the third week of December.   

Wednesday 14 November 2018

Dashing Deer card number two.

Hi and welcome to my blog.

Today's card is this stunning " Many Merry Thanks" card.


I have  made this card for the restaurant my son, husband and I are going to, with my parents, for Christmas Dinner. We have been for the last two years and the food and atmosphere is lovely. They all work really hard, to make it special, so I thought it would be nice to say thank you.

This card real mix of metallic's and texture. I have use the gold-foil edged card bases, The Broadway Bound designer series paper,  Dashing Deer Stamp Set, Detailed Deer Thinlits Dies, Black Organdy Ribbon, Galvanised Metallic Paper and the Everyday Label Punch and the Metallic Pearls that come in gold and silver.

The card base is 4 1/4" by 5 1/2" so I needed a mat that is 3 3/4" by 4 3/4". I added the ribbon to the designer series paper (DSP) by wrapping it around with enough ribbon to secure it at the back, then made the bow and popped it on with a mini glue dot. I stamped the greeting and punched it out and cut the prancing deer from the galvanised metallic paper. This paper is a silver tone but mat instead of shiny.
I then added the greeting and Deer with some Dimensionals and finished it off with the gold and silver metallic pearls. 

I hope you like this card, if you would like to see my YouTube tutorial please click here.

Craft your best life! 
Sam x


Tuesday 13 November 2018

Facebook live 12 November 2018


Hi, its Facebook live Monday!

Today's Facebook live is full of news and excitement and a Monday make. pop over to my Facebook page your YouTube Channel to find out more.

The card for today is a little bit of fairy dust and magic, or to give them their proper names ; silver embossing powder and heat gun. The other equipment you will need is an embossing buddy and the silver foil-edged cards and envelopes .


 I hope you like this weeks live, you can find all the products used in my online shop by clicking here  I would love for you to join me live next Monday at 8pm GMT

Craft your best Life!
Sam x

Calling all new Paper crafters!


Hi every one.
Are you a new paper crafter and feel overwhelmed? Or maybe you would like to learn how to make cards and 3D paper items but just don't know where to start?
Well that is where I can help!

I have put together a collection of "how to" video tutorials over on my YouTube channel  of card making basics. The first lesson will be a look at the card blanks and envelopes packs and the Memory's and more card packs that Stampin' Up! have to offer to get the new card maker going. They are also prefect for the seasoned card maker, as we all need that last minuet quick card.

The second lesson will be how to cut a card base and layers from card stock. These fit neatly on our high quality envelopes or you can make your own (tutorial in the making) with the envelope punch board.

The third tutorial is for all you paper hoarders,me included.
Do you collect pretty paper, look at it, stroke it and then lovingly place it in its bed? No? I cant be the only one! It costs money and it scary cutting it up. To get over this problem I open it and chop it straight away. This tutorial will show you how to love it chop it and have it ready to create with.

If you have any questions or ideas for other how to tutorials please feel free to pop me a message

Craft your best life!
Sam x
       

Tuesday 6 November 2018

Dashing Deer Bundle week


Hi everyone welcome to a new week and a new bundle. 

This weeks blog and YouTube tutorials will be using the Dashing Deer stamp set and coordinating Detailed Deer Thinlits Dies, As usual, if you buy them together as a bundle, you save 10%

  
Todays card is great for card making beginners, I have used the pre-made silver foil edged cards and envelopes.

The card base is 4 1/4" by 5 1/2" so I needed a mat that is 3 3/4" by 4 3/4". I used glimmer paper in sparkle for this card and I changed it up s bit for the tutorial and used the Rose glimmer paper. I die cut the prancing deer and the fancy corners from sliver foil, finished off with some basic rhinestone gems.
I have not included a sentiment at the stage as this card makes a great Christmas card, but also any winter occasion.

Thank you for stopping by my blog, I will be back later in the week with another stunning card using this bundle. Click here to visit my online store.

craft your best life!
Sam x


Monday 5 November 2018

Facebook live Monday make

Hi everyone and happy Monday!
Every Monday, over on my Facebook page Sam Florence UK, at 8pm. I do a live Monday make. This is today's card. All products I use are available in my online store click here to have a look


 I hope you can join me but if not you can view it by clicking here

Sam x

Sunday 4 November 2018

Snowflake Showcase project 2


Hi Everyone,
 I am loving using the Snowflake Showcase! This has to be my favourite collection yet!!

Today I am bring you my second card using the Snow is Glistening stamp set and the Snow Fall Dies
I have been using a lot none-traditional colours lastly and Gray, Pink and Copper are right on trend. 

My card base is a white Memory and More large card measuring 4 1/4" by 6 1/4". The mat layer is in Petal Pink and measures 4" by 6". My next layer is Gray Granite, from the 6"x 6" Neutrals designer series paper pack, cut at 3 3/4" by 5 3/4. 

 I have cut the largest snowflake die from copper foil card-stock and mounted it on the largest of the square stitched shape framelits in petal pink.. The sentiment is heat embossed with copper embossing power and punched out with the Everyday Label punch. I have mounted it with the petal pink and copper ribbon from the metallic ribbon combo pack.

To finish off the card I have used the share what you love artisan pearls, in petal pink.


I hope you like the card, there is a tutorial on YouTube that I will link below. The products used are availvie in my online store click here to check it out.

Remember to craft your best life!
Sam x


Thursday 1 November 2018

SNOW card using snow is glistening by Stampin' Up!

Hello crafty friends!
Today I am bring you this super simple "SNOW" card in Gorgeous Grape and Whisper white, with a touch of Sparkle Glimmer paper. I have used the time limited Snow is Glistening stamp set and the Large Letter dies. So if you would like to know how I made it please read on.

I took an A4 sheet of gorgeous grape card stock and cut it in half at 5 7/8", then scored at 4 1/8".
the whisper white mat is cut at 4" and 5 6/8".
Stamping the snowflakes was super easy using the Stampin' Up! Stamparatus, stamp positioning tool. the hinge step lines up each new row seamlessly and the cascade of snowflakes makes the prefect background for the letters cut from the sparkle glimmer paper. to find out more pop over to my YouTube channel for the full tutorial, where I used the velveteen paper for the large letters.


That is all there is to it, Click here to see my online store.

 Craft your best life!
Sam x